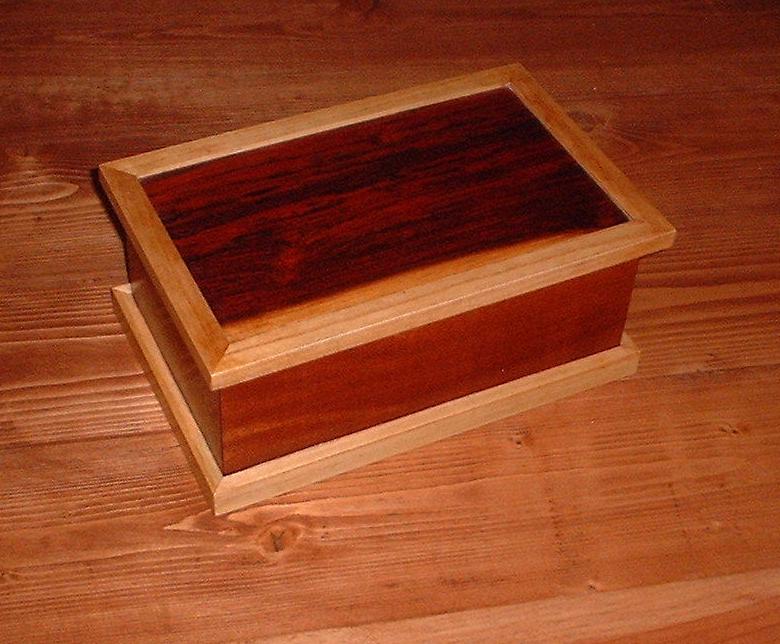
Wood: Sapele (tropical hardwood), tree of heaven, cocobolo veneer on plywood core
Finish: Super-blonde shellac, wax. Two coats of shellac brushed on, sanded to take care of the grain-raising effects, four more coats padded on, let dry for a week. Wet sand with mineral oil and 600-, and 1000-grit wet/dry paper, rub out with mineral oil and pumice, then with rottenstone. Wax lightly.
The first tea chest didn't stick around long enough for me to appreciate it, so I had always planned to make another one. OK, it took a couple of years to actually finish it. This one has mitered corners without keys. I originally made the "framing" (the base and the edge of the top) out of a darker wood and just hated the way it looked. It was not attached, so I just kind of threw it across the room in frustration, keeping the box. After I calmed down a bit, I went looking for something with more contrast. The only thing I could come up with that was not already spoken for on some other project was the remains of a tree my wife and I cut down. Eventually I sawed it up into planks, all of which warped beyond any use other than firewood. So what this entire (admittedly smallish) tree yielded was one spokeshave body and this framing. Better than toothpicks, I suppose.
This box has a bottom lined with adhesive-backed felt, which was a good learning experience with respect to finishing. When I teach box making these days, I recommend finishing the insides before assembly. It's too hard to finish the inside of a box well anyway, and with a felt bottom you are just going to mess it up while working on the box insides. This box ended up with a relatively unfinished inside as a result. Looks OK, but it would have been nice to have thought of that up front. I have also decided that the sides need to be a bit thinner, as it looks a little clunky when open.
As with the other boxes in this series, the design is based on a golden rectangle - not counting the top and base. This box is a bit smaller than the first - a little over three inches high and with length and width appropriate to the height. This is small enough to use the miter trimmer. I remembered to put the design information into a CAD system this time so I don't have to start from scratch next time. The body is essentially made from a single 1 x 4 about three feet long, with the grain (such as it is) wrapped around the outside of the box.
There will be another tea chest in the series, but I'm planning on doing the top quite differently. It will be a cut box with the top attached to the top half inch or so and the two parts held together with pin hinges, which I have in the shop awaiting a tryout. I don't really like the options for hinges with these boxes that have tops that overlap on all four sides.
![]()
![]()