Wood: cherry and curly cherry, poplar (drawers), thin plywood for drawer bottoms and such.
Finish: boiled linseed oil single coat, built up finish of super blonde shellac, paste wax
Hardware: The brass drawer knobs and lid stop are by Brusso; hinges from Woodcraft
Wasting no time (for me) from the completion of the first jewelry chest project (click on left hand arrow, below), I turned my attention to the real object of this exercise - the chest for my daughter in law. Note that the phrase "in law" has special meaning here, since this was supposed to be a law school graduation gift in May of 2004. Hey, what's 16 months, give or take a few?
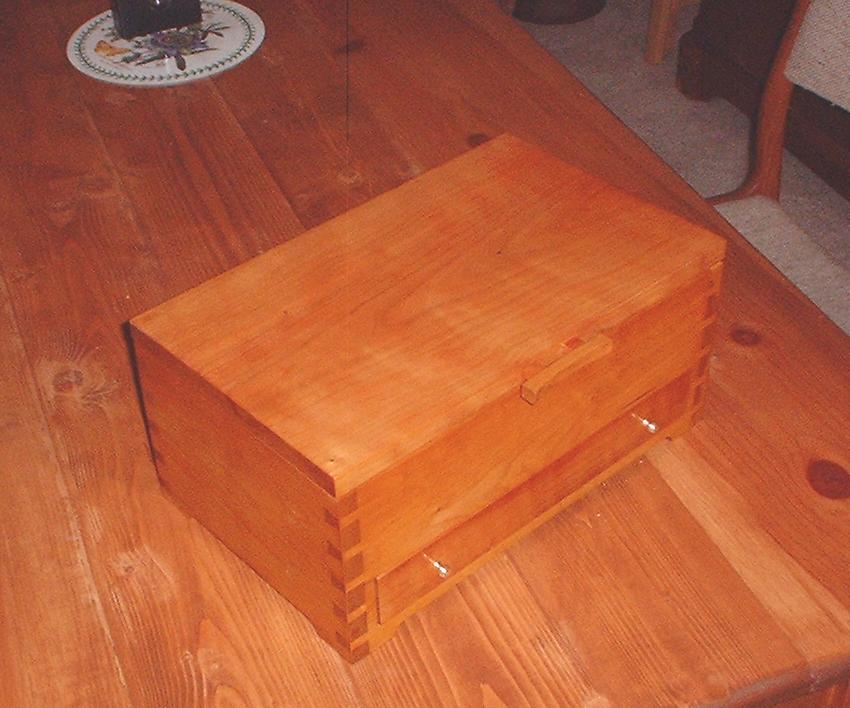
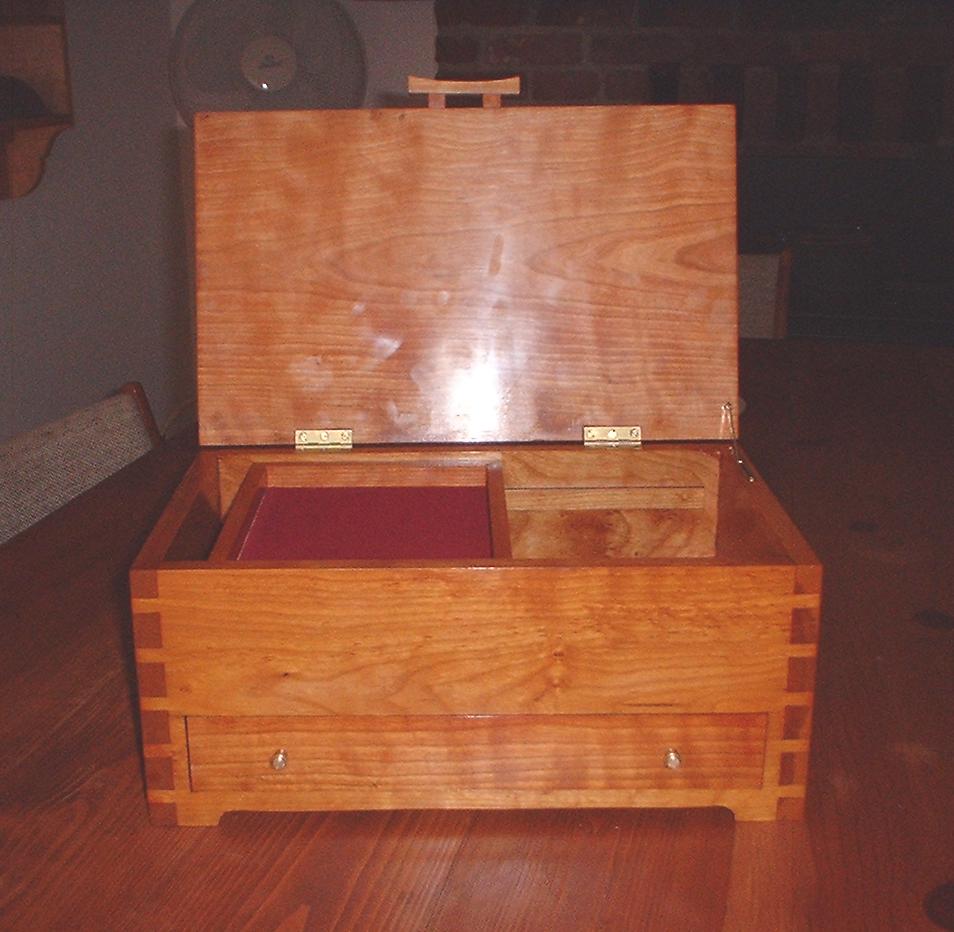
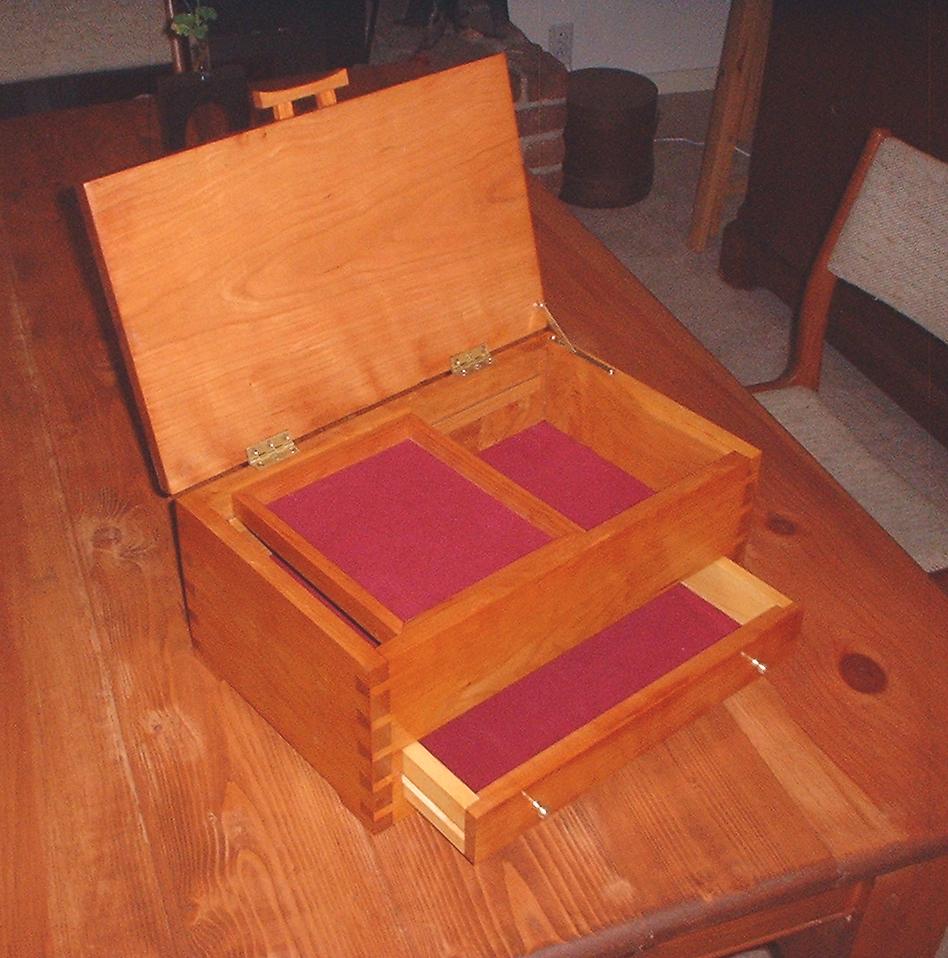
The major design difference here is that I decided not to use two drawers again, as the strip of wood between them is a pain to keep square and parallel. Having more space to work with - the overall dimensions of the two chests are the same - I decided to make the top portion deeper and add a sliding tray running on two strips of cherry. Since there was only one drawer, it could be a bit deeper than the two on the first chest. The major implementation detail difference is that this chest uses through dovetails, since I had so much trouble with the half blind dovetails on chest number 1. I have not given up completely; I have wood cut for a smaller chest (also in cherry) and I'll take another shot at it.
Some interesting minor details: I had bought a rather interesting piece of hardware from Brusso that is inset in a mortise in the right side of the chest. It has a brass pin that pivots on a rod, and the pin is attached to the lid. This acts as a stop for the lid, and is quite entertaining to watch as it opens. Since I had this as a lid stop, I did not need stop hinges (used in chest #1) and just picked up some brass hinges from Woodcraft. The Brusso ones were nice but they did not stock ones quite large enough for such a big box (also, they were stop hinges anyway so not quite needed). Mary wanted her box lid to overlap the front forming a lifting surface. That was not a choice here, as I had already cut the lid to the same dimensions as the box. I spent a good long time coming up with a design, but a visit to a local woodworking show gave me the answer. The "temple gate" handle I made adds a little oriental flavor to it and was not too difficult to make. Laid out with a French curve and cut with a coping saw, it is mounted with two rectangular blocks that are mortised into the handle and box front. The little blocks were the hard part as I kept dropping them.
There are fewer flaws in this box, but there are definitely some mistakes made. The front managed to break into two pieces while I was tapping the box together to test the dovetail fit. It does not show much after gluing, filling, and finishing, but the part above the drawer was unfortunately a separate piece of wood from the bottom for a while. I managed to drill through the top wit one of the hinge mounting screws. The box lid does not quite close all the way due to some issues with hardware mounting (probably the lid stop rather than hinges). I dropped one of the little pieces that hold the handle on during glue-up and managed to put it in backwards. As a result, the handle is not quite level. And the finishing is not quite as perfect as I would have liked it to be. But this is, after all, a hand-made box. Anyway, that's my excuse.
![]()
![]()