Wood: Macacauna (tropical hardwood), ambrosia maple, figured veneer on plywood core
Finish: Tried & True Danish Oil.
It has been a number of years since I made any tea chests, but a friend of mine recently got married informally (due to some medical issues) with plans for a more conventional wedding at some future time. So I decided a preliminary wedding present might be appropriate. I had bought a number of 1 x 4 "sticks" of tropical hardwoods when I was first experimenting with this format, and I had one left over.
I took advantage to put together a "how I did it" document with a number of photos of the intermediate stages.
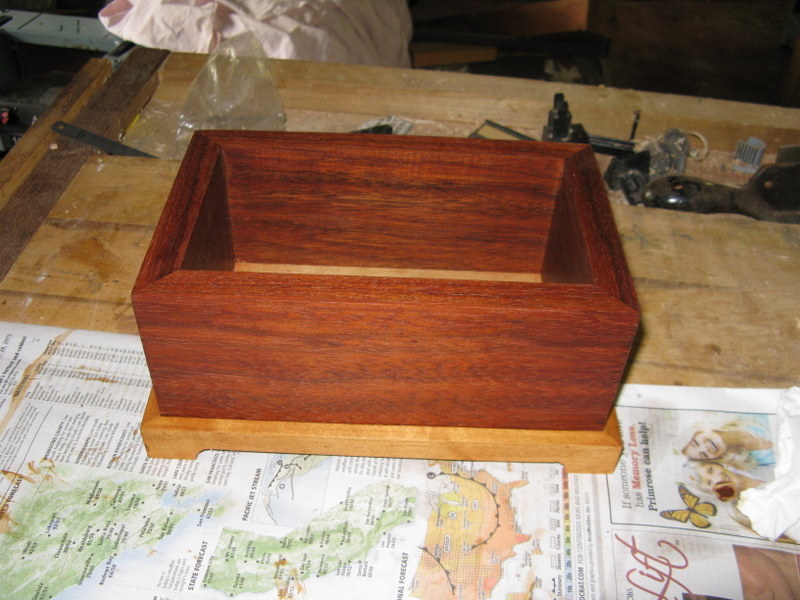
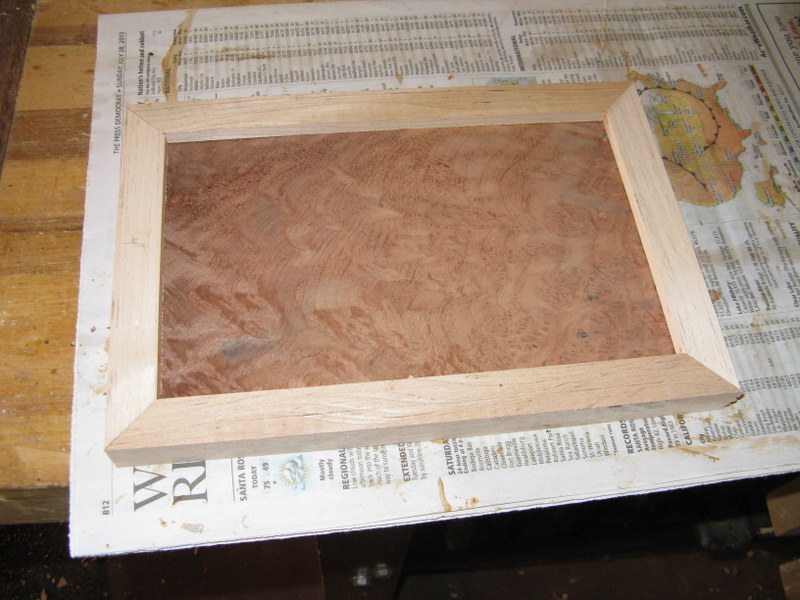
As with the other boxes in this series, the design is based on a golden rectangle - not counting the top and base. This box is the smallest to date, owing to the unpleasant aspects of working with the wood chosen for the box body. It's very splintery and prone to tear-out and other ailments. Naturally, the solution to dealing with minor failures on the ends of boards is to just make them shorter. As is often the case, there's a good deal of maple in the shop to provide a nice contrast to the darker box bodies I use. The veneer is the most interesting part, as it is highly figured.
Another aspect of this design that differs from the other tea chests is the use of a base with integral "feet" instead of it just being flat. This required thicker wood for the base, and also for the top to keep things in proportion. I should have used a thicker substrate for the veneer than the one I used. Worked OK, looks wrong to me. I also had some issues with the hinges, which were purchased locally. These were very thin antique brass. Made in China, the screws were not even all the same size and one had not had the top recess removed. (The hardware store just opened another package and handed me a new bag of screws.) As a result of this debacle, the top was pretty much impossible to mount, and I had to rebuild it. Thankfully, I was able to save the panel and just make a new frame.
Unfortunately, I never took a final photo before sending it off, so the intermediate ones will have to do for now.
There will be another tea chest in the series, and I'm still planning a frameless version. This will be a cut box with the top attached to the top half inch or so and the two parts held together with pin hinges, which I have in the shop awaiting a tryout. I don't really like the options for hinges with these boxes that have tops that overlap on all four sides, even when they are properly made. But now I have bags of them in the shop, so I will have to come up with another way to use them up.
![]()
![]()